Did you know? Redmenta is not just for creating your own worksheets. If you haven't heard of...
1. Creating a worksheet
If you haven't created your first worksheet on Redmenta yet, let us help with the first steps.
Before we dive in: we have something wonderful, called Redmenta Knowledge Base. The Knowledge Base helps you with any questions you might have about task types, task and worksheet settings as well as many other aspects of Redmenta. If you get stuck or encounter a feature you're unfamiliar with, the Knowledge Base is there to answer your questions.
So, how do you create a worksheet? Go to the Desktop and click on the Create new worksheet button, then enter the title and description of the worksheet! Once you have that, you can start editing tasks. In the knowledge base link below, we write in detail about creating and editing worksheets and tasks. Here you can find the answers to all your further questions regarding this topic:
https://help.redmenta.com/en/tutorial/creating-worksheets

2. Worksheet settings (sharing and fill out settings)
Once you've created the worksheet, don't forget to set up who will be able to fill out it and in what time period. You can find the sharing and fill out settings in the Settings menu. Once you've done this, your students will be able to access the worksheet based on your settings.

There are several types of sharing on Redmenta. One that is very useful and easy for both student and teacher is direct sharing. When direct sharing, first you have to enter a Jumper Code (any word, word combination or serial number can be a Jumper Code) and set the All Redmenta users - only with Jumper Code sharing level. Once you finished with these settings, send the Jumper Code to the fillers. They will be automatically navigated to the worksheet when they enter this code in the Jumper menu (if your students are not registered users, you can select the Anyone on the Internet sharing level while setting a Jumper Code the same way as datailed above).
Further information on sharing and fill out settings is available here:
https://help.redmenta.com/en/tutorial/sharing-and-filling-settings
3. Results and auto evaluation
Encourage and inspire your students with stickers, GIFs and comments! You can access the fill outs of your students in the Results menu. Here you can check and, if necessary, revise the auto evaluation and provide feedbacks to help your students further.

If you're also interested in the students' perspective, click on the link below to try our demo worksheets. These worksheets will give you a hands-on experience of Redmenta task types and storytelling worksheet elements.
Link to the demo: https://redmenta.com/demo_en
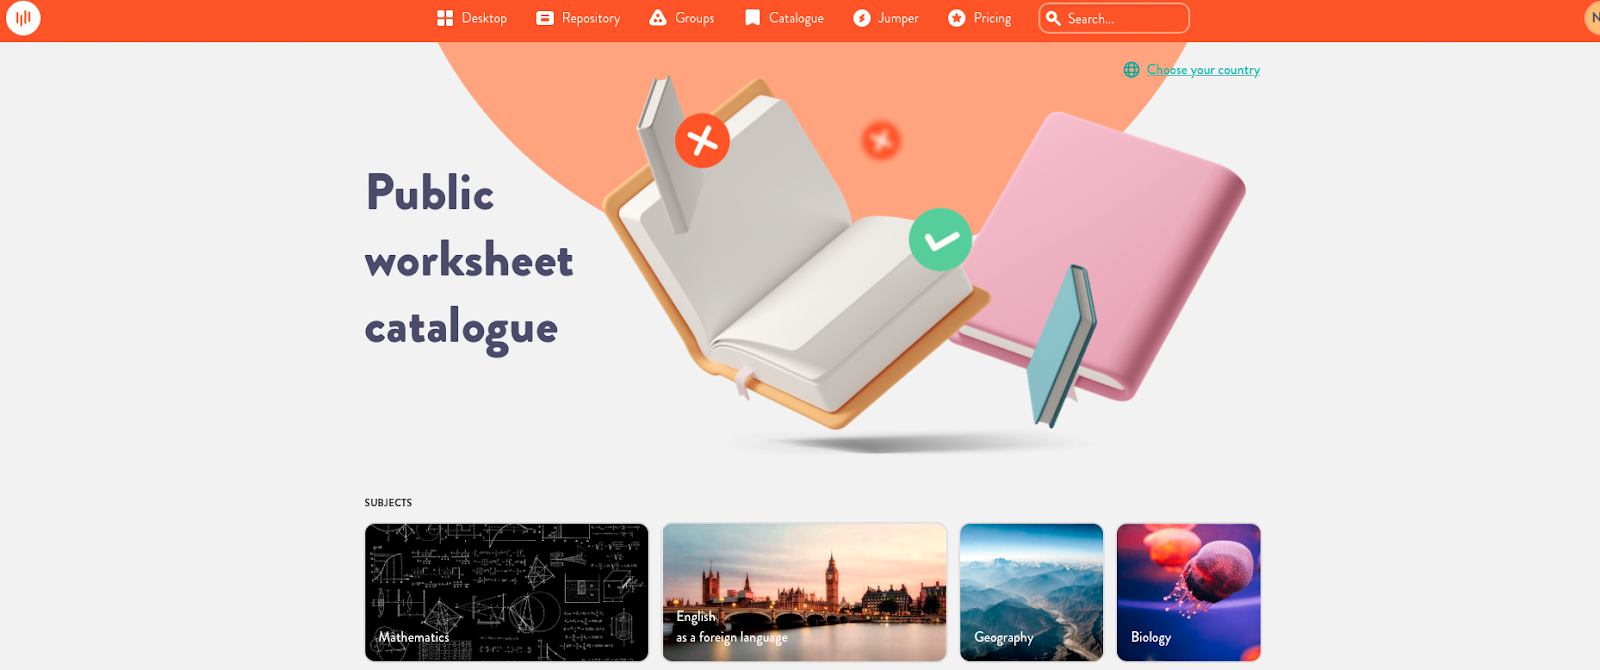
4. Catalogue - library of public worksheets
If you want to save time, look for pre-made worksheets in the Catalogue! The quality worksheets in the Catalogue have been created and shared by Redmentas users so that anyone can use them freely at any time. For more details about the Catalogue, read the following blog post here:
https://blog.redmenta.com/how-to-use-the-catalog-stepy-by-step-manual
5. Free storage booster options
Expand your free storage with the piggy button! Each registered user has 20MB of storage space, which you can expand to a certain extent for free. See how!
6. Redmenta Plus subscription
And if you want to further expand your storage space and the Redmenta features, check out the Redmenta Plus subscription packages and enjoy the convenience of the 20-25GB of storage space!
Find out more about the subscription packages and prices at this link:
https://redmenta.com/en/pricing?seats=1&isBusiness=0&isAnnual=1
If you would like to request a quote, please contact sales@redmenta.com. In your letter, please specify:
- the type of subscription (monthly or yearly),
- the type of use (business or school),
- the exact number of teachers/educators included in the subscription.
For more information on subscriptions, please visit the Redmenta Knowledge Base at this link:
https://help.redmenta.com/en/tutorial/subscription
7. Need help? Contact us!
If you have any questions, please contact us by:
- Messenger,
- Redmenta chat
- Email: support@redmenta.com

